The quick answer
What makes meat perfectly done?
Good meat doneness starts with the right internal temperature for the cut. Heat firms muscle fibers, which can push out moisture. Tougher cuts also need time for connective tissue to soften. Check the meat with a thermometer, meet its safe cooking requirements, and follow the rest time it needs. Color alone cannot tell you when it is ready.
You lift the grill lid and see a golden crust. The outside looks ready, but what is happening in the middle? That is where a thermometer such as the Thermapen ONE earns its place beside your tongs.
At Behind the Grill, we keep the goal simple: safely cooked meat with the texture you want. Once you understand how heat changes a cut, it becomes easier to avoid dry chicken, uneven chops, and brisket that still feels tough.
Affiliate disclosure: Some shopping links are affiliate links. We may earn a commission if you buy through them, at no extra cost to you.
Why meat changes as it cooks
Meat contains water, muscle fibers, fat, and connective tissue. As it heats up, the proteins in those muscle fibers change shape and firm up. The fibers can shrink and squeeze out some of their water.
This is why a lean chicken breast can go from juicy to dry when it cooks too long. More time on the grill does not always mean a better bite. Once a tender cut meets its cooking requirements, extra heat may cost you moisture.
Tougher cuts have another job to finish. They contain more connective tissue, including collagen, which helps hold the fibers together. Given enough cooking time, that tissue can soften. This is why a shoulder or brisket needs a different plan from a tender chop.
The Exploratorium’s meat science guide explains how heat changes muscle fibers. In your backyard, the lesson is simple: choose the cooking method around the cut, then use temperature and texture to guide the finish.
For quick checks around the grill
Thermapen ONE
ThermoWorks lists a one-second response and a rotating display for the Thermapen ONE. It is useful when you want to check several burgers, chops, or pieces of chicken. Insert the probe, let the reading settle, then remove it. This handheld tool stays with you while you cook.
Shop Thermapen ONE on AmazonStart with the right safe internal temperature
Different meats have different cooking requirements. Use the FoodSafety.gov temperature chart as your starting point. These are safe minimums for home cooks. A tough cut may need more cooking to become tender.
| Meat | Minimum temperature | Required rest |
|---|---|---|
| Beef, veal, and lamb steaks, chops, and roasts | 145°F (63°C) | At least 3 minutes |
| Pork steaks, chops, and roasts | 145°F (63°C) | At least 3 minutes |
| Ground beef, pork, veal, and lamb | 160°F (71°C) | None specified |
| All poultry, including ground chicken and turkey | 165°F (74°C) | None specified |
For the whole cuts listed above, reach 145°F while the meat is still cooking. Then remove it from the heat and rest it for at least three minutes before cutting or eating.
Treat ground meat as its own category. Grinding can spread surface bacteria through the meat, so a burger needs the correct temperature in its center. A browned outside does not tell you that the inside is safely cooked.
Put the thermometer where it counts
A good thermometer needs good placement. If the probe sits near the hot surface, you may miss a cooler area inside. USDA recommends measuring in the thickest part, away from bone, fat, and gristle.
- Find the sensing area. Check your thermometer’s instructions so you know how much of the probe needs to be inside the food.
- Reach the center. For a thin burger or chop, insert from the side so the sensor stays inside the meat.
- Check more than one spot. Thick or uneven cuts can have cooler areas. Keep cooking if a properly placed reading is below the safe minimum.
- Check each piece. Chicken breasts and burgers on the same grill may finish at different times.
- Check a whole bird carefully. Measure the thickest breast and the innermost thigh and wing, avoiding bone.
Let the display settle each time you move the probe. Clean it between uses and follow the maker’s care steps. If readings seem wrong, check the thermometer using its approved accuracy-check method.
Another option for spot checks
ThermoPro TP19H
The TP19H has a folding probe, a backlit display, and a reading-lock feature. It suits quick checks on individual portions. The official page now uses TempPro branding, so confirm the model on the listing. Remove this handheld thermometer after taking the reading.
Shop TP19H on AmazonWhy meat can keep cooking after it leaves the grill
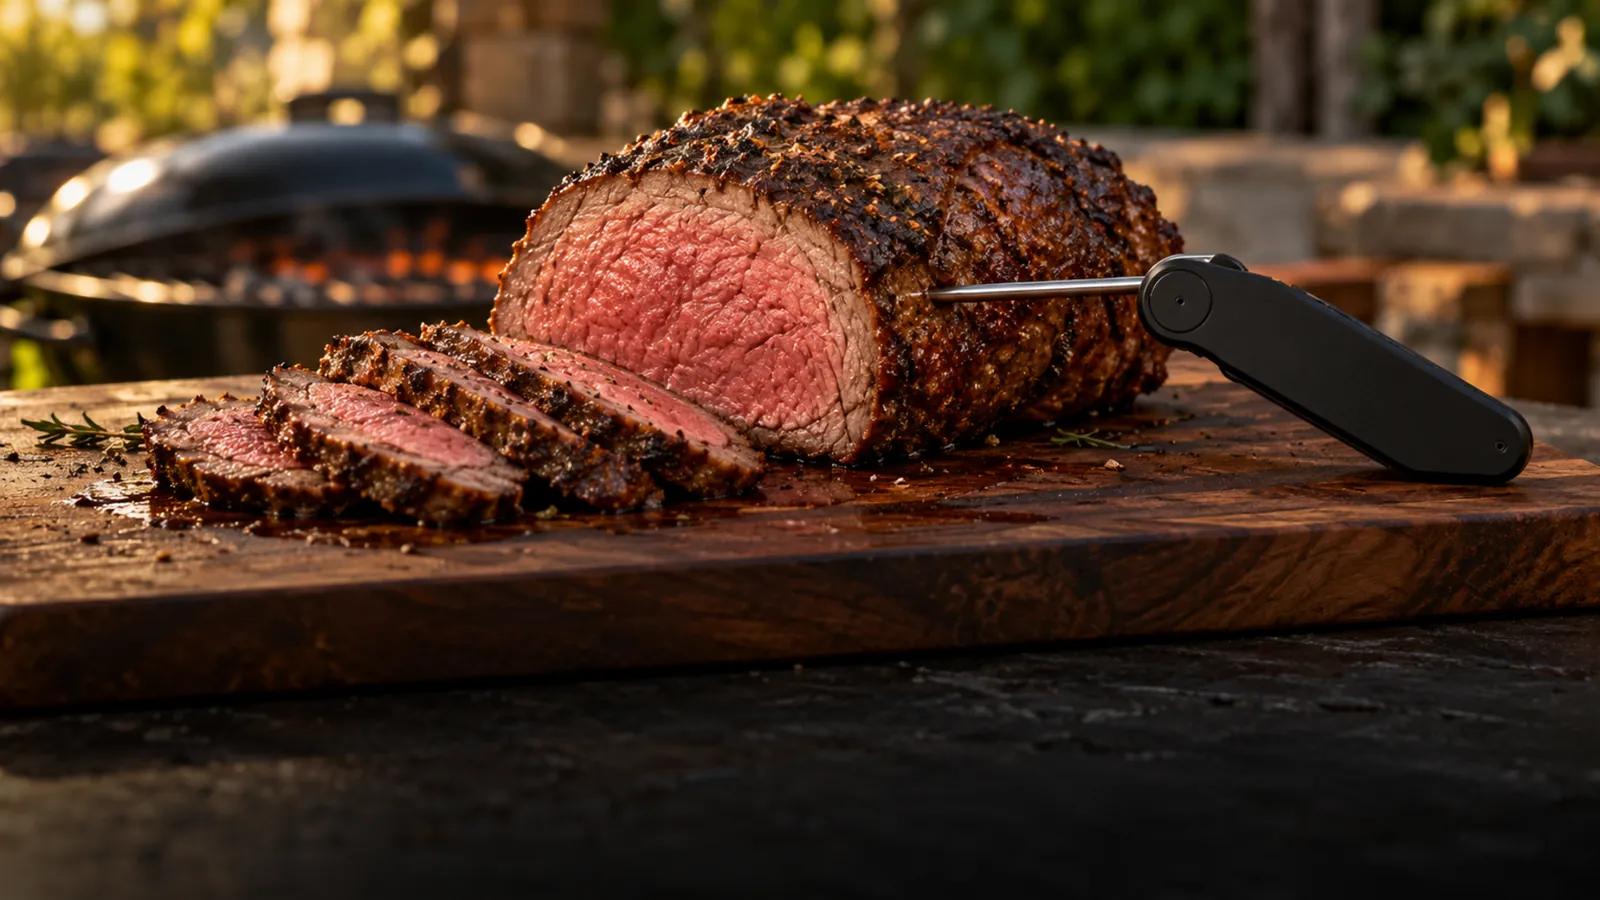
When a roast leaves the heat, its outside is often hotter than its center. Heat can keep moving inward, so the center may rise in temperature during the rest. This is called carryover cooking.
The rise depends on the cut’s size, shape, and cooking heat. A large roast and a thin chop will not behave the same way. ThermoWorks’ carryover cooking guide shows why a fixed temperature allowance can miss the mark.
Watch the temperature near the finish and during the rest. Follow the safe minimum for the food before removing it from the heat. Do not count on an assumed rise to finish cooking meat that is still below that minimum.
Resting also cannot undo overcooking. If a lean cut has already lost too much moisture, extra time on the board will not bring that water back. Check early enough to make a useful decision.
For a simple leave-in alarm
ThermoWorks DOT
The ThermoWorks DOT tracks one probe and sounds an alarm at your set target. It is a straightforward way to follow a roast through the cook and rest. Keep the display outside the cooker, and verify other thick spots before serving.
Shop ThermoWorks DOT on AmazonMatch your cooking plan to the cut
For lean, tender meat, focus on even cooking and a careful finish. If a thick chop has enough crust but still needs heat inside, move it to a cooler cooking zone. Let the center catch up without scorching the surface.
For brisket or pork shoulder, reaching a safe temperature is only part of the job. The connective tissue may still need time to soften. Follow a trusted recipe, then check for easy probe entry in several places as the cut nears the texture you want.
A thermometer tells you the temperature where its sensor sits. It cannot tell you how easily a whole brisket will slice or shred. Use the reading alongside the cut’s feel and cooking history.
During longer cooks, keep pit temperature and meat temperature separate in your notes. One tracks the cooking air; the other tracks the food. Consistent probe placement helps make those notes useful next time.
For watching a cook on your phone
MEATER Plus
The MEATER Plus uses a wireless probe with meat and air sensors, an app, and a Bluetooth booster dock. It suits cooks who want to follow the temperature trend on a phone. Follow the insertion and heat limits, and check the signal before settling into a long cook.
Shop MEATER Plus on AmazonFor several cuts and the pit
ChefsTemp Quad XPro
The Quad XPro offers four channels with wired probes and a separate RF receiver. You can track three cuts and the pit air without a phone app. Use the correct probe for each job and keep the receiver and base away from high heat.
Shop Quad XPro on AmazonCommon questions about meat doneness
Can I judge doneness by color or clear juices?
Use a thermometer. Meat can brown before it reaches a safe temperature, and some safely cooked meat can stay pink. Clear juices, a smoke ring, and a browned crust cannot replace a properly placed temperature check.
What about medium-rare steak?
Medium-rare describes a taste and texture preference. Common steak charts include temperatures below USDA’s recommended minimum for home cooking. Use the safety table above and any specific package instructions when planning your cook.
Does searing lock in the juices?
Searing builds a flavorful crust, but it does not seal the meat. The center still needs the right cooking temperature. If the outside is browned enough, finish with gentler heat and keep checking the inside.
Do I need an instant-read and a leave-in thermometer?
They handle different tasks. An instant-read model checks several spots or portions. A leave-in probe follows one location over time. Choose around what you cook most, then verify cooler areas before serving.
Make your next cook easier to repeat
Start with the cut and its safe cooking requirements. Check the thickest areas, adjust the heat as needed, and follow the required rest. Save a quick note on thickness, temperature, and texture. That gives you something useful to build on the next time you fire up the grill.
Every Easy Function product ships with a free lifetime replacement warranty.